Video
Details
Some of our templates come with in-built horizontal line images. When you customise your email, you might decide that you would like different coloured lines. If you do, this article will help you create those within the editor.
How-to Guide
- Open your email message for editing.
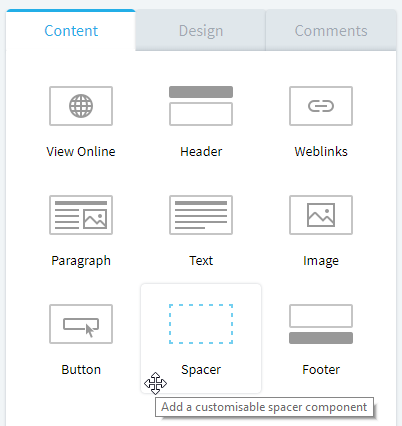
- From the components panel on the right side, click and drag the Spacer component underneath the first component of your email.
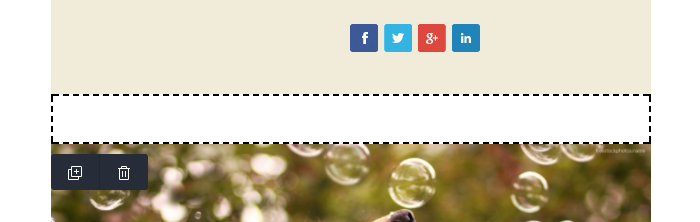
- The spacer should now be selected (shown via a black dotted border around it). If it isn't, click it once to select it (as shown below).
- In the Settings tab on the right hand side of the editor, you will see options to set the height, padding and colour of the spacer.
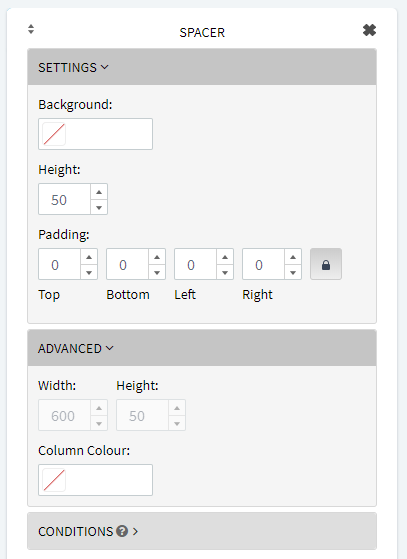
- Set these options to values that you like, to match your email design. A spacer with a smaller height will appear thinner.